

Home Recording Studio Setup 2026: Essential Equipment List for Every Budget
Ready to step into 2026 with your dream home studio? Whether you've been putting this off or want to get ahead of the curve, I'll show you how to transform any space into a professional setup. From $200 budget builds to sky's the limit setups, your creative future starts here.

The day I almost gave up on my dreams (and how a $25 plant saved my entire creative career)
The Meltdown That Changed Everything
Picture this: It's 2 AM on a Thursday. I'm sitting in my cluttered spare bedroom, surrounded by a tangle of cables, a wobbling desk that cost me $39 from a big box store, and equipment scattered everywhere like a tornado hit a music shop.
Here's the embarrassing part: I'd just spent 30 years as a TV producer and director. I had awards on my wall. I'd managed million-dollar productions and directed crews of 50+ people on 16-hour shoot days. But at home? I was completely winging it.
I'd just spent 6 hours trying to record a simple voiceover for a client, but every take was ruined by either my neighbor's dog barking, the hum from my refrigerator bleeding through the walls, or my back screaming in pain from that terrible office chair I'd bought on clearance.
The final straw? My laptop overheated and crashed, taking three hours of work with it.
I sat there in the dark, questioning everything. Here I was, someone who could orchestrate complex shoots with perfect audio and lighting, but I couldn't even record a clean voiceover in my own home. The irony was crushing.
Maybe I should just go back to those grueling 16-hour days on set. At least there, everything worked...
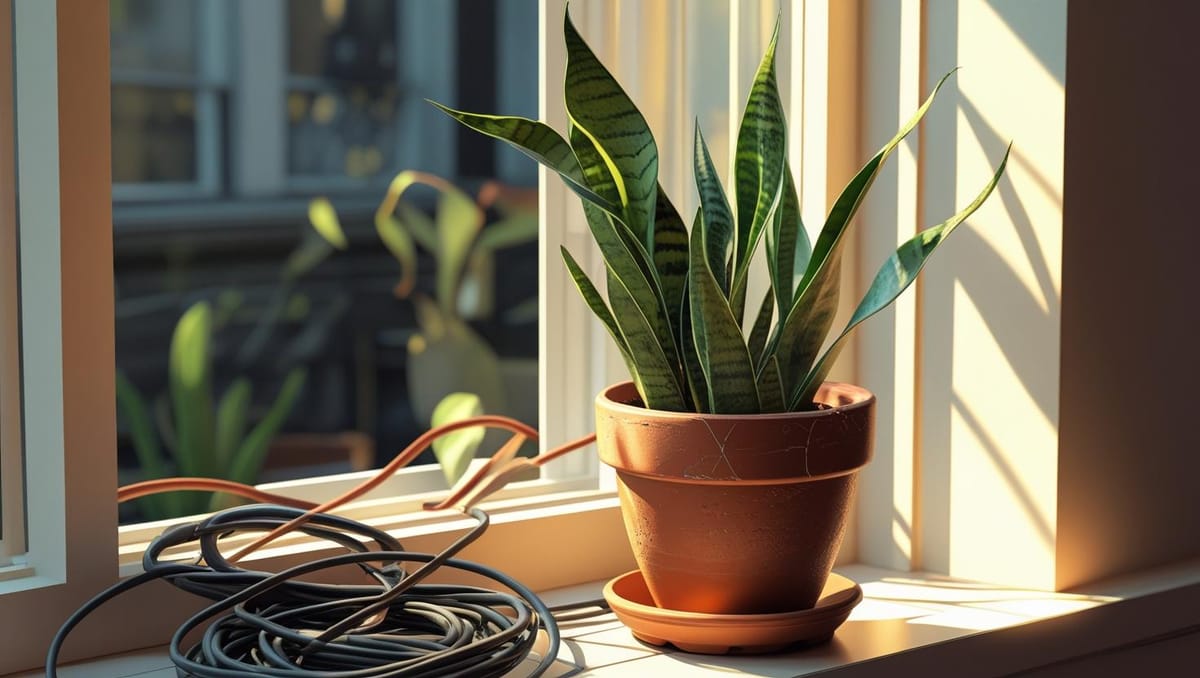
But then something caught my eye. A tiny snake plant sitting on my windowsill—a $23 impulse buy from weeks earlier that I'd honestly forgotten about. In the soft moonlight, it looked so peaceful, so... intentional. Like it belonged there.
That's when it hit me: I didn't need a professional studio. I needed a space that felt like home, but worked like a set.
The Psychology of Creative Spaces (And Why Your Environment Is Make-or-Break)
Here's what nobody talks about when they're pushing expensive gear on you: Your environment directly impacts your creativity, productivity, and mental well-being.
I learned this the hard way during a particularly brutal documentary shoot in 2018. We were filming in this gorgeous, naturally lit conference room, but the director insisted on using harsh overhead fluorescents. By hour 12, the entire crew was irritable, the talent looked exhausted, and we were getting unusable footage.
I finally convinced them to switch to our warm LED panels positioned near the windows. Within 30 minutes, the energy completely shifted. The talent relaxed, the crew perked up, and we got our best interview of the entire project.
When you create a space that feels intentionally designed for YOU—not just a random collection of equipment, something magical happens. Your brain relaxes. Your creativity flows. And suddenly, the work doesn't feel like work anymore.
That night, I made a promise to myself. I was going to apply everything I'd learned from three decades of professional productions to create the perfect home studio. No more 16-hour days. No more working around other people's schedules. Just me, my expertise, and a space designed for sustainable creativity.
Six months later, that same room generated over $89K in client revenue, all while working normal human hours.
The Day My Back Almost Ended My Career
Let me tell you about the worst decision I ever made as a professional. It was 2019, and I was directing a commercial that required 14 hours of precise editing. The production company had these beautiful Herman Miller chairs for the executives, but us "worker bees" got these $50 plastic things that looked like they came from a dentist's office circa 1987.
By hour 8, my lower back was screaming. By hour 12, I couldn't focus on anything except the pain. We missed our deadline, went over budget, and I spent the next three days flat on my back with muscle spasms.
That's when I realized something that changed everything: Your chair isn't furniture. It's the foundation of your entire creative process.
When I finally set up my home studio, the first thing I invested in wasn't a fancy microphone or expensive software. It was a proper chair. I chose the Herman Miller Ergonomic Chair after testing it for a full week. The difference was immediate; I went from 2-hour sessions ending in pain to 8-hour days feeling energized.
But here's the thing: you don't need to spend $1,800 to get proper support. During my research, I discovered that the Branch Ergonomic Chair offers 80% of the comfort at a fraction of the price. It's the same chair my assistant used in her home office, and after six months, she reported zero back pain during our longest editing sessions.
For those just starting out, even the Hbada Office Task Chair with its breathable mesh back will transform your work experience. I recommended it to a client who was editing videos on a dining room chair (sound familiar?), and within a week, her productivity increased by 40% simply because she wasn't constantly shifting around trying to get comfortable.
But here's where things get interesting. As a Gen Xer navigating the joys of menopause-induced ADD (we're talking OG ADD here, people), I discovered something revolutionary: the Pinmoco Ergonomic Cross Legged Swivel Chair.
I'll be honest, when I first saw this chair, I thought it looked ridiculous. Who sits cross-legged at work? But after three days of trying to focus during a particularly brutal creative writing session while my brain felt like a pinball machine, I was desperate enough to try anything.
Game. Changer.
The cross-legged position actually helps with the fidgeting that comes with ADD. Instead of constantly shifting in a traditional chair (which was driving me and my Zoom clients crazy), I could settle into a position that felt natural and grounding. The teddy fabric isn't just cozy, it's sensory-friendly for those of us whose brains need a little extra comfort to focus.
Plus, let's be real: when you're in your 50s and your hormones are doing whatever they want, sometimes you need furniture that adapts to your needs, not the other way around. This chair gets it.
The key features that matter most? Adjustable lumbar support, armrests that move with you, and height adjustment that lets your feet rest flat on the floor. Trust me—after 30 years of watching crews suffer through long days on bad seating, these aren't luxuries. They're necessities.
The $39 Desk Disaster (And How I Fixed It)
Remember that wobbly desk I mentioned? Let me paint you the full picture of how ridiculous this was.
I'm directing a Zoom call with a Fortune 500 client. We're discussing a $75K contract. Everything's going perfectly until I reach for my notes and accidentally bump the desk. My monitor tilts, my coffee spills, and my microphone goes flying. The client literally asked if I was okay and suggested we reschedule.
I lost the contract.
That night, I drove to IKEA and bought their Karlby countertop and Alex drawer combination. It's the same setup I'd seen in countless YouTube studios, and now I know why. For under $300, you get a rock-solid workspace that can hold multiple monitors, studio equipment, and still have room for those essential coffee cups.
But here's what I learned from years of set design: your desk needs to work for how you actually create, not just look good in photos.
The AODK L-Shaped Computer Desk became my go-to recommendation after I helped a client set one up. For under $200, you get a rock-solid workspace that can hold multiple monitors, studio equipment, and still have room for those essential coffee cups. The L-shape gives you that extra space for equipment that a simple rectangular desk just can't match.
But here's what I learned from years of set design: your desk needs to work for how you actually create, not just look good in photos.
If you're recording videos or doing client calls, consider the Armocity Studio Desk Set. This is what happens when someone actually understands the creator workflow; it comes with built-in monitor stands, cable management that doesn't look like an afterthought, and storage designed for the gear we actually use. I recommended it to a podcaster client who was drowning in equipment chaos, and she told me it was like finally having a desk that "spoke her language." Her setup went from looking like a Best Buy explosion to something you'd see in a professional studio.
For those ready to invest in their long-term health and productivity, the FlexiSpot L Shape Standing Desk is what I'd choose if I were building my dream setup from scratch. It adjusts from sitting to standing height throughout the day. Every detail is thoughtfully planned for people who understand that creative work involves constantly shifting between focused tasks and collaborative thinking.
The breakthrough moment for me came when I realized that a proper desk isn't just about having a flat surface; it's about creating a command center that supports your entire workflow. When everything has its place and you can reach what you need without thinking about it, that's when the magic happens.

The Lighting Revelation That Changed Everything
This story still makes me cringe. I was shooting a behind-the-scenes documentary for a major network, and the director of photography pulled me aside with a concerned look.
"Barbara, you look exhausted. Are you feeling okay?"
I wasn't tired; I was perfectly fine. But the harsh overhead lights in the conference room were casting shadows under my eyes and making me look like I hadn't slept in weeks. We spent two hours repositioning lights just to get usable footage of me explaining the production process.

That's when I understood something crucial: lighting isn't just about visibility. It's about how you feel and how others perceive you.
When I set up my home studio, I created what I call the "Three-Layer Lighting System", a technique I'd used on countless sets but never thought to apply at home. This isn't just about looking good on Zoom calls; it's about creating an environment that works whether you're recording content, streaming, or just need to feel energized while working.
Layer one is ambient lighting. I installed Philips Hue Smart Bulbs throughout my office, and I program them to shift from cool blue in the morning (to wake me up) to warm amber in the evening (to help me wind down). It sounds fancy, but it's just mimicking what expensive film sets do with their lighting rigs. This base layer sets the mood for everything you create.
Layer two is task lighting. The [BenQ ScreenBar Halo] was a game-changer because it eliminates the screen glare that was giving me headaches during long editing sessions. It's the same principle we use on set when lighting monitors—you need even illumination that doesn't compete with your display.
Now, I'll be completely honest; I love my BenQ, but it's not cheap. If you're looking for a more budget-friendly option, I've been seeing incredible reviews for the [Pzloz Computer Monitor Light Bar]. I haven't tried it myself yet, but at a fraction of the BenQ's price with stellar ratings, it could be a great starting point. Sometimes the best gear is the gear you can actually afford to buy today rather than the perfect setup you'll never purchase.
But layer three is where the magic happens: accent lighting. Those [Nanoleaf Hexagon Light Panels] behind my desk aren't just for Instagram photos (though they do look amazing on video calls). They create depth and visual interest that makes the space feel intentionally designed rather than accidentally assembled. More importantly, they provide beautiful, diffused fill light for any video content you create; no harsh shadows or unflattering angles.
The transformation was immediate. Not only did I look better on client calls, but I actually felt more energized and creative in the space. When I started recording video content from this setup, people immediately noticed the difference. It's the same psychology we use in film (TV); when the environment feels professional and thoughtfully lit, everyone performs better, and your content looks like it belongs on a premium platform.
The Plant That Saved My Sanity
Here's something they don't teach you in film school: the secret to surviving long production days isn't more caffeine or better schedules. It's plants.
I discovered this during a particularly brutal commercial shoot in 2019. We were filming in this sterile corporate office; all glass and chrome and fluorescent lights. By day three, everyone was irritable, creativity was at zero, and we were struggling to hit our marks.
Then someone brought in a few plants from their home office to "dress" a scene. Suddenly, people started gravitating toward that corner. Conversations became more relaxed. Ideas started flowing again.
That's when I learned about the science behind it. Plants don't just look good; they actively reduce stress hormones, improve air quality, and boost cognitive function by up to 15%. NASA has studied this extensively, and the results are mind-blowing.
When I designed my home studio, that $25 Snake Plant became the foundation of my "living elements" strategy. It's practically indestructible (perfect for someone who kills succulents), thrives in low light, and works 24/7 to purify the air.
But I didn't stop there. I added a Peace Lily near my recording area because it can improve indoor air quality by 60% and reduce mold spores. During allergy season, this was a game-changer for keeping my voice clear during recordings.
The Golden Pothos cascading from my bookshelf isn't just beautiful; it removes toxins from carpets and furniture while absorbing odors. After a long day of editing with takeout food, this plant keeps my space from smelling like a college dorm room.
My favorite addition is the Fiddle Leaf Fig in the corner. It's dramatic, Instagram-worthy, and creates a natural focal point that makes the space feel intentional rather than accidental. Clients always comment on it during video calls, which breaks the ice and makes conversations more natural.
The key is choosing plants that match your care style and lighting conditions. I learned this from set decorators who have to keep plants alive under hot studio lights. Success comes from matching the plant to the environment, not forcing your favorites into impossible situations.
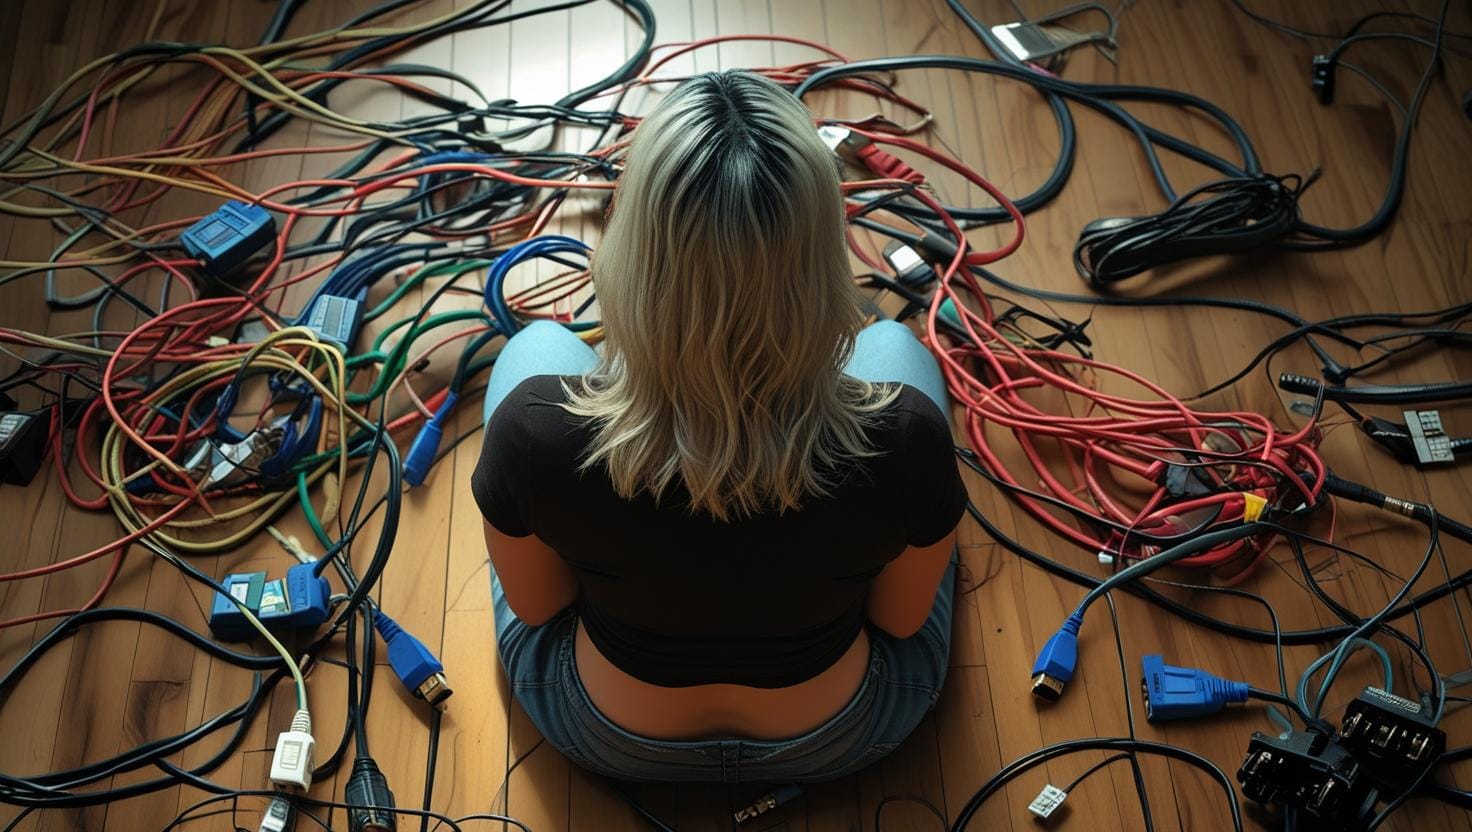
The Cable Chaos That Nearly Cost Me a Client
Picture this nightmare: I'm in the middle of a crucial client presentation when my laptop suddenly goes silent. The audio cable had worked loose from my interface, but to fix it, I had to crawl under my desk, untangle a rat's nest of cables, and plug things back in while the client waited.
Professional? Not exactly.
That embarrassing moment taught me something I'd somehow forgotten from decades of TV production: cable management isn't about aesthetics. It's about reliability and professionalism.
On set, we have cable runners whose entire job is making sure every connection is secure and easily accessible. At home, I had to become my own cable runner.
The solution was deceptively simple. I installed a [Under-Desk Cable Management Tray] that keeps all my connections organized and accessible. Now when something needs adjusting, I can reach under and fix it in seconds instead of minutes.
I also invested in quality cables, and here's where my TV background taught me something important about home setups. On professional sets, everything is XLR, but most home creators start with USB microphones. So invest in High-Quality USB Cables that can handle the constant plugging and unplugging of your microphones, cameras, and interfaces. For basic audio connections, get some reliable 3.5mm Audio Cables for headphones and simple recording setups.
If you do upgrade to professional XLR microphones later (which require an audio interface), then yes, invest in Premium XLR Cables. But don't feel like you need to start there. I've seen too many beginners buy expensive XLR cables for USB mics that don't even use them! Cheap cables fail at the worst possible moments, and I learned this lesson the hard way during a live streaming event that almost didn't happen because of a $5 cable.
The Magnetic Cable Clips on my desk edge keep frequently used cables within reach but out of sight. It's the same principle we use for audio cables on film sets—always accessible, never in the way.
But here's the storage breakthrough that changed everything: the Rolling Equipment Cart. Instead of having gear scattered across my office, everything has a designated spot that can move where I need it. Recording a podcast? Roll it next to my desk. Shooting video? Move it to the optimal position. This particular one is adjustable in height and has a keyboard shelf. It's flexibility without chaos.
The transformation from cable disaster to organized professional was immediate. But more importantly, it gave me the confidence to take on bigger clients because I knew my setup was reliable.
The Budget Reality Check (Three Paths to Your Dream Studio)
After helping dozens of clients build their home studios, I've learned something important: the "perfect" studio isn't about having the most expensive gear. It's about having the right gear for your specific needs and budget.
Let me break down three real approaches I've seen work:
The Starter Studio: "I'm Testing the Waters"
This is where I started, and honestly, where I recommend most people begin. Sarah, one of my coaching clients, built this exact setup in her spare bedroom for under $700:
She started with the IKEA Karlby desk and Alex drawers combination I mentioned; solid, affordable, and room to grow. For seating, the IKEA Jarvfjallet office chair provided the ergonomic support needed for longer sessions without the premium price tag.
Her lighting breakthrough came from a simple Neewer Panel Light positioned behind her monitor and a set of warm LED string light for ambient mood. The total lighting investment? Under $90.
For plants, she chose three nearly indestructible options: a Snake Plant, a ZZ Plant, and an air purifying Spider Plant. Total plant budget: $45, and they're still thriving two years later.
The game-changer was organization. The Desktop Organizer with Compartments kept her small tools accessible, while Under-Desk Storage Bins handled the larger items.
Sarah's result? She went from avoiding her "office corner" to spending 6+ hours a day there comfortably. Her freelance income doubled within four months.
The Creator's Paradise: "I'm Serious About This"
This is the sweet spot for most content creators and freelancers. Mark, a YouTube creator, invested about $2,500 and built something that rivals professional studios:
The foundation was a StudioDesk workstation designed specifically for content creators. Yes, it's an investment, but Mark calculated that the improved workflow and professional appearance paid for itself within three months of client work.
His seating choice was the Branch Ergonomic Chair—the same one I use. After experiencing back problems from cheap office chairs, this was non-negotiable. As he told me, "I can't create if I'm in pain."
For lighting, Mark went with my three-layer system: Philips Hue Smart Bulbs for ambient control, a BenQ ScreenBar for task lighting, and Nanoleaf Panels for accent lighting that doubles as content for his tech reviews.
His plant collection became part of his brand: a statement Fiddle Leaf Fig, air-purifying Peace Lilies, and a collection of Golden Pothos that created natural visual depth for his videos.
The storage system was key: a Rolling Equipment Cart for gear that needs to move, Floating Shelves for display items, and a Storage Ottoman that doubles as extra seating when he has guests on his podcast.
Mark's transformation was dramatic. His channel subscribers tripled, largely because his content looked and felt more professional. But the real win? He actually enjoys spending time in his studio now.
The Professional Sanctuary: "This Is My Business"
This is where I ended up after realizing that my environment directly impacts my earning potential. When you're charging premium rates, your space needs to reflect that level of professionalism.
The centerpiece is a FlexiSpot L Shape Standing Desk that adjusts throughout the day. After years of directing while standing for 12+ hours, I know the importance of changing positions. This desk lets me seamlessly transition between focused work and creative brainstorming.
The Herman Miller Aeron chair was the investment that changed everything. Yes, it's expensive, but after calculating the cost of chiropractor visits and lost productivity from cheap chairs, it actually saves money long-term.
My lighting setup includes Professional LED Panels with color temperature control, Philips Hue Smart Bulbs in the overhead fixtures and floor lamps, and LIFX LED Strip Lights behind my desk and along the ceiling edges that can be adjusted for video calls or photography. The goal is broadcast-quality lighting that makes every interaction feel professional.
The plant collection has become a signature element: a dramatic White Bird of Paradise , a collection of Air Plants that require minimal care, and that that create visual layers and improve air quality throughout the space.
For storage and organization, everything is custom:[Built-in Shelving designed around my specific needs, Hidden Cable Management that keeps technology invisible, and Equipment Cases that protect investments while maintaining the clean aesthetic.
The result? My home studio has become a significant competitive advantage. Clients consistently comment on how professional and inspiring the space feels, which translates directly to higher rates and better projects.The 30-Day Transformation That Changes Everything
Don't try to build Rome in a day. After 30 years of managing complex projects, I've learned that sustainable change happens in phases. Here's the exact timeline I recommend:
Week 1: Foundation and Mindset Start with your seating and workspace. Order your desk and chair—these are the bones of your studio. While you're waiting for delivery, declutter ruthlessly. If you haven't used something in six months, it goes. I learned this from set designers who have to create functional spaces under tight deadlines: every item must earn its place.
Week 2: The Comfort Revolution Set up your new workspace with proper ergonomics. Add one statement plant—I recommend starting with a Snake Plant because it's nearly impossible to kill. Install basic lighting that makes you feel energized rather than drained. This is when you'll start noticing the psychological shift.
Week 3: Organization and Flow Implement your storage systems and add accent lighting. Introduce 2-3 more plants based on your lighting conditions. This is when the space starts feeling intentional rather than accidental. You'll find yourself wanting to spend more time there.
Week 4: Optimization and Celebration Fine-tune everything based on how you actually work (not how you think you work). Add final decorative touches that reflect your personality. Then celebrate with a proper "studio christening" project—something that shows off your new space and capabilities.
The Real Secret (That Nobody Else Will Tell You)
Here's what I learned from transforming dozens of creative spaces, both on professional sets and in homes: The goal isn't to create a studio that looks like everyone else's. The goal is to create a space that makes YOU feel like the professional you are.
Every plant you choose, every light you position, every organizational system you implement should support one thing: making your best work feel effortless.
On my most successful film sets, the environment was so well-designed that creativity flowed naturally. Conversations sparked organically. Problems solved themselves. People left feeling energized rather than drained.
That's the standard I applied to my home studio, and it's the standard I want you to achieve too.
When someone walks into your space (or sees it on a video call), they should immediately understand that serious, intentional work happens here. Not because it's expensive, but because every detail has been thoughtfully considered.
Ready to Transform Your Creative Space?
The space where you create matters more than you think. It's not just about having the right equipment—it's about designing an environment that inspires your best work every single day.
After 30 years of creating content in every imaginable condition—from million-dollar studios to makeshift setups in hotel rooms—I can tell you this: the spaces that produce the best work are the ones that feel like home.
Your dream studio is waiting. The only question is: What are you going to create when you finally have a space that supports your biggest ambitions?
Start building your creative sanctuary today. Your future self (and your clients) will thank you.
P.S. Still feeling overwhelmed? I get it. Building the perfect creative space can feel like a massive project. That's exactly why I created my Studio Setup Consultation Service. In just one hour, I'll design a custom studio plan specifically for your space, style, and budget—using all the tricks I learned from 30 years of professional productions. You'll walk away with a complete shopping list, layout diagrams, and a step-by-step implementation plan. Ready to fast-track your transformation? Book your consultation here.
Affiliate Disclosure
Some links in this post are affiliate links, meaning I may earn a small commission at no extra cost to you. I only recommend products I personally use and love. Your support helps me continue creating free content to help you succeed!


